Create Azure DevOps Work Item for Findings
Configure Azure DevOps Integration for New Findings
To set up Azure DevOps to create Work Items for new findings, follow these two main steps:
Create a New Folder for Your Azure DevOps Recipes
Before you begin, it’s a good idea to create a new folder for all your future Azure DevOps recipes.
Navigate to the Projects tab in the Integration Builder.
Click the “Create” button at the top right, then select “Folder”.

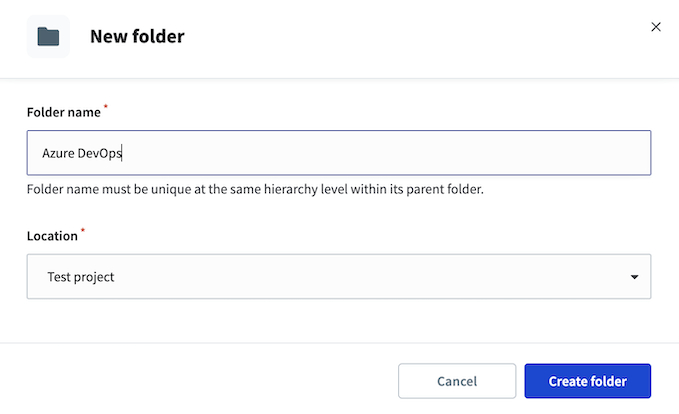
Name the new folder and choose its location. Then click “Create folder”.
You should now see the new folder in the project.
Create an Azure DevOps Connection
Click the “Create” button at the top right, then select “Connection”.

Search for the Azure DevOps connection and click on it.

Fill in the connection details: name, recipe location, and select Personal Access Token as the OAuth 2.0 grant type. Set the API version to 7.0 and specify the Azure DevOps organization name, the email address of the user to impersonate, and the personal access token.
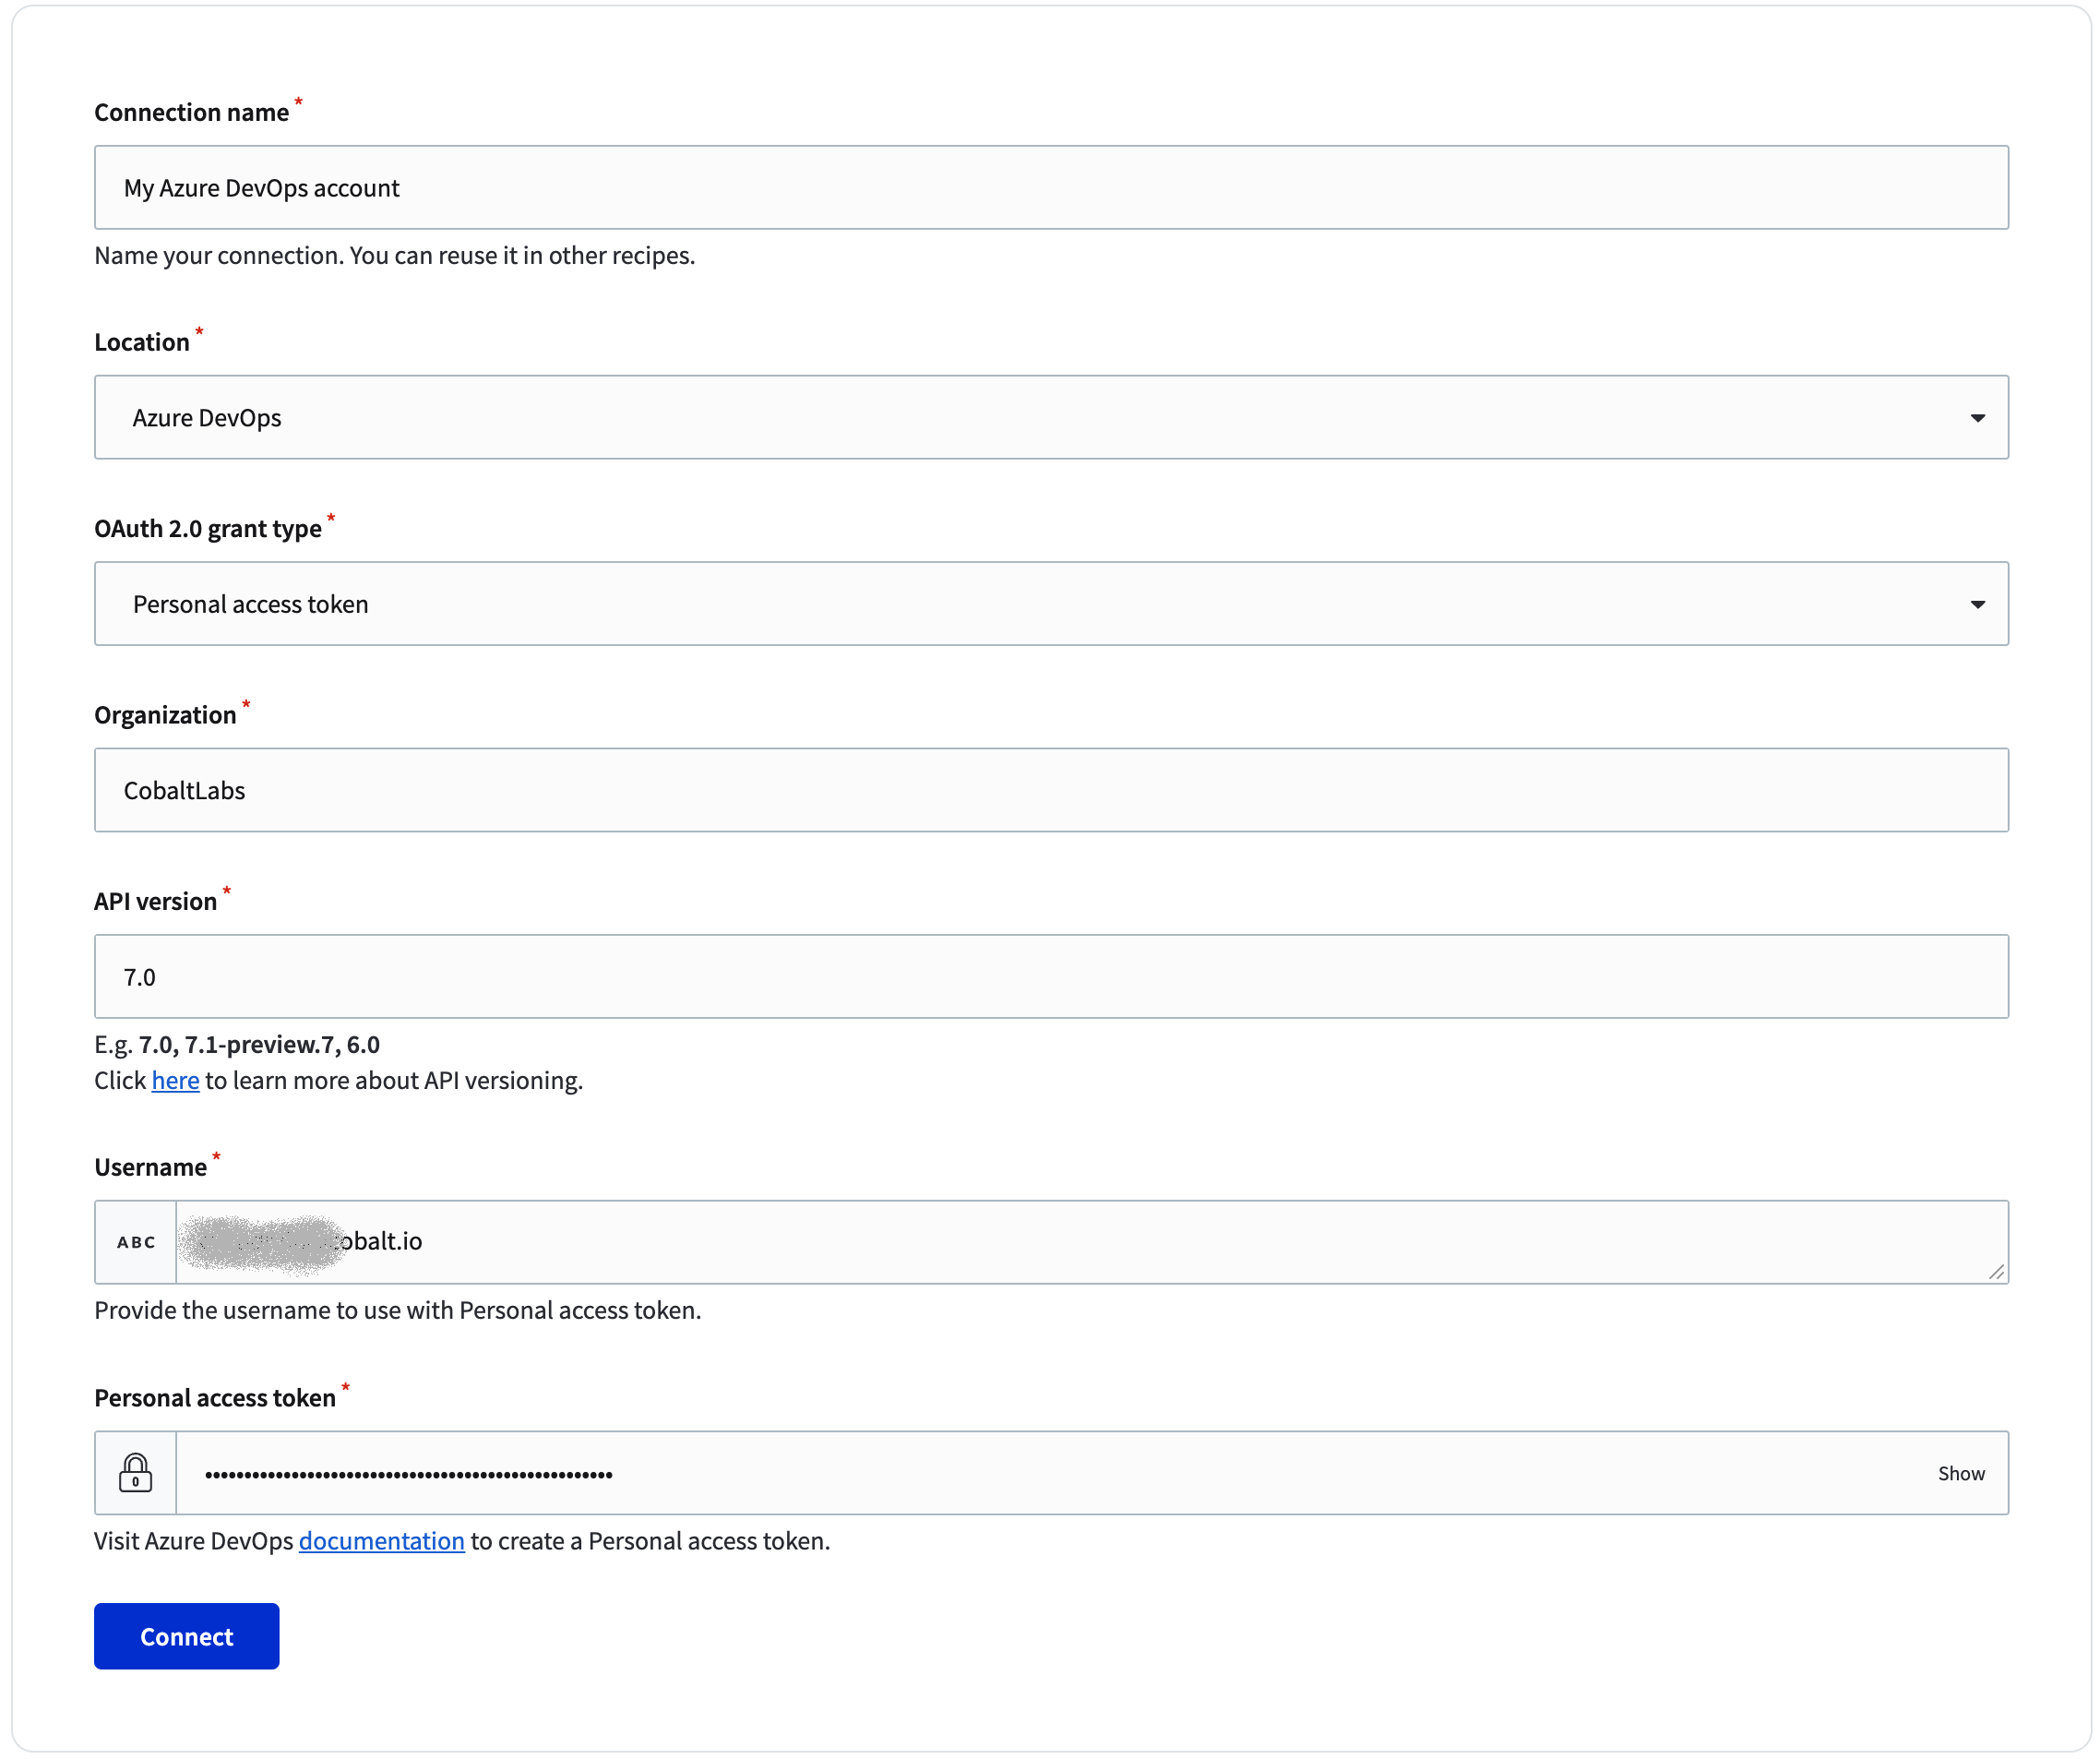
ⓘ Refer to the Azure DevOps documentation to create a personal access token.
ⓘ Use
Read, write, & managescopes for this example. Learn more about OAuth scopes for Azure DevOps.

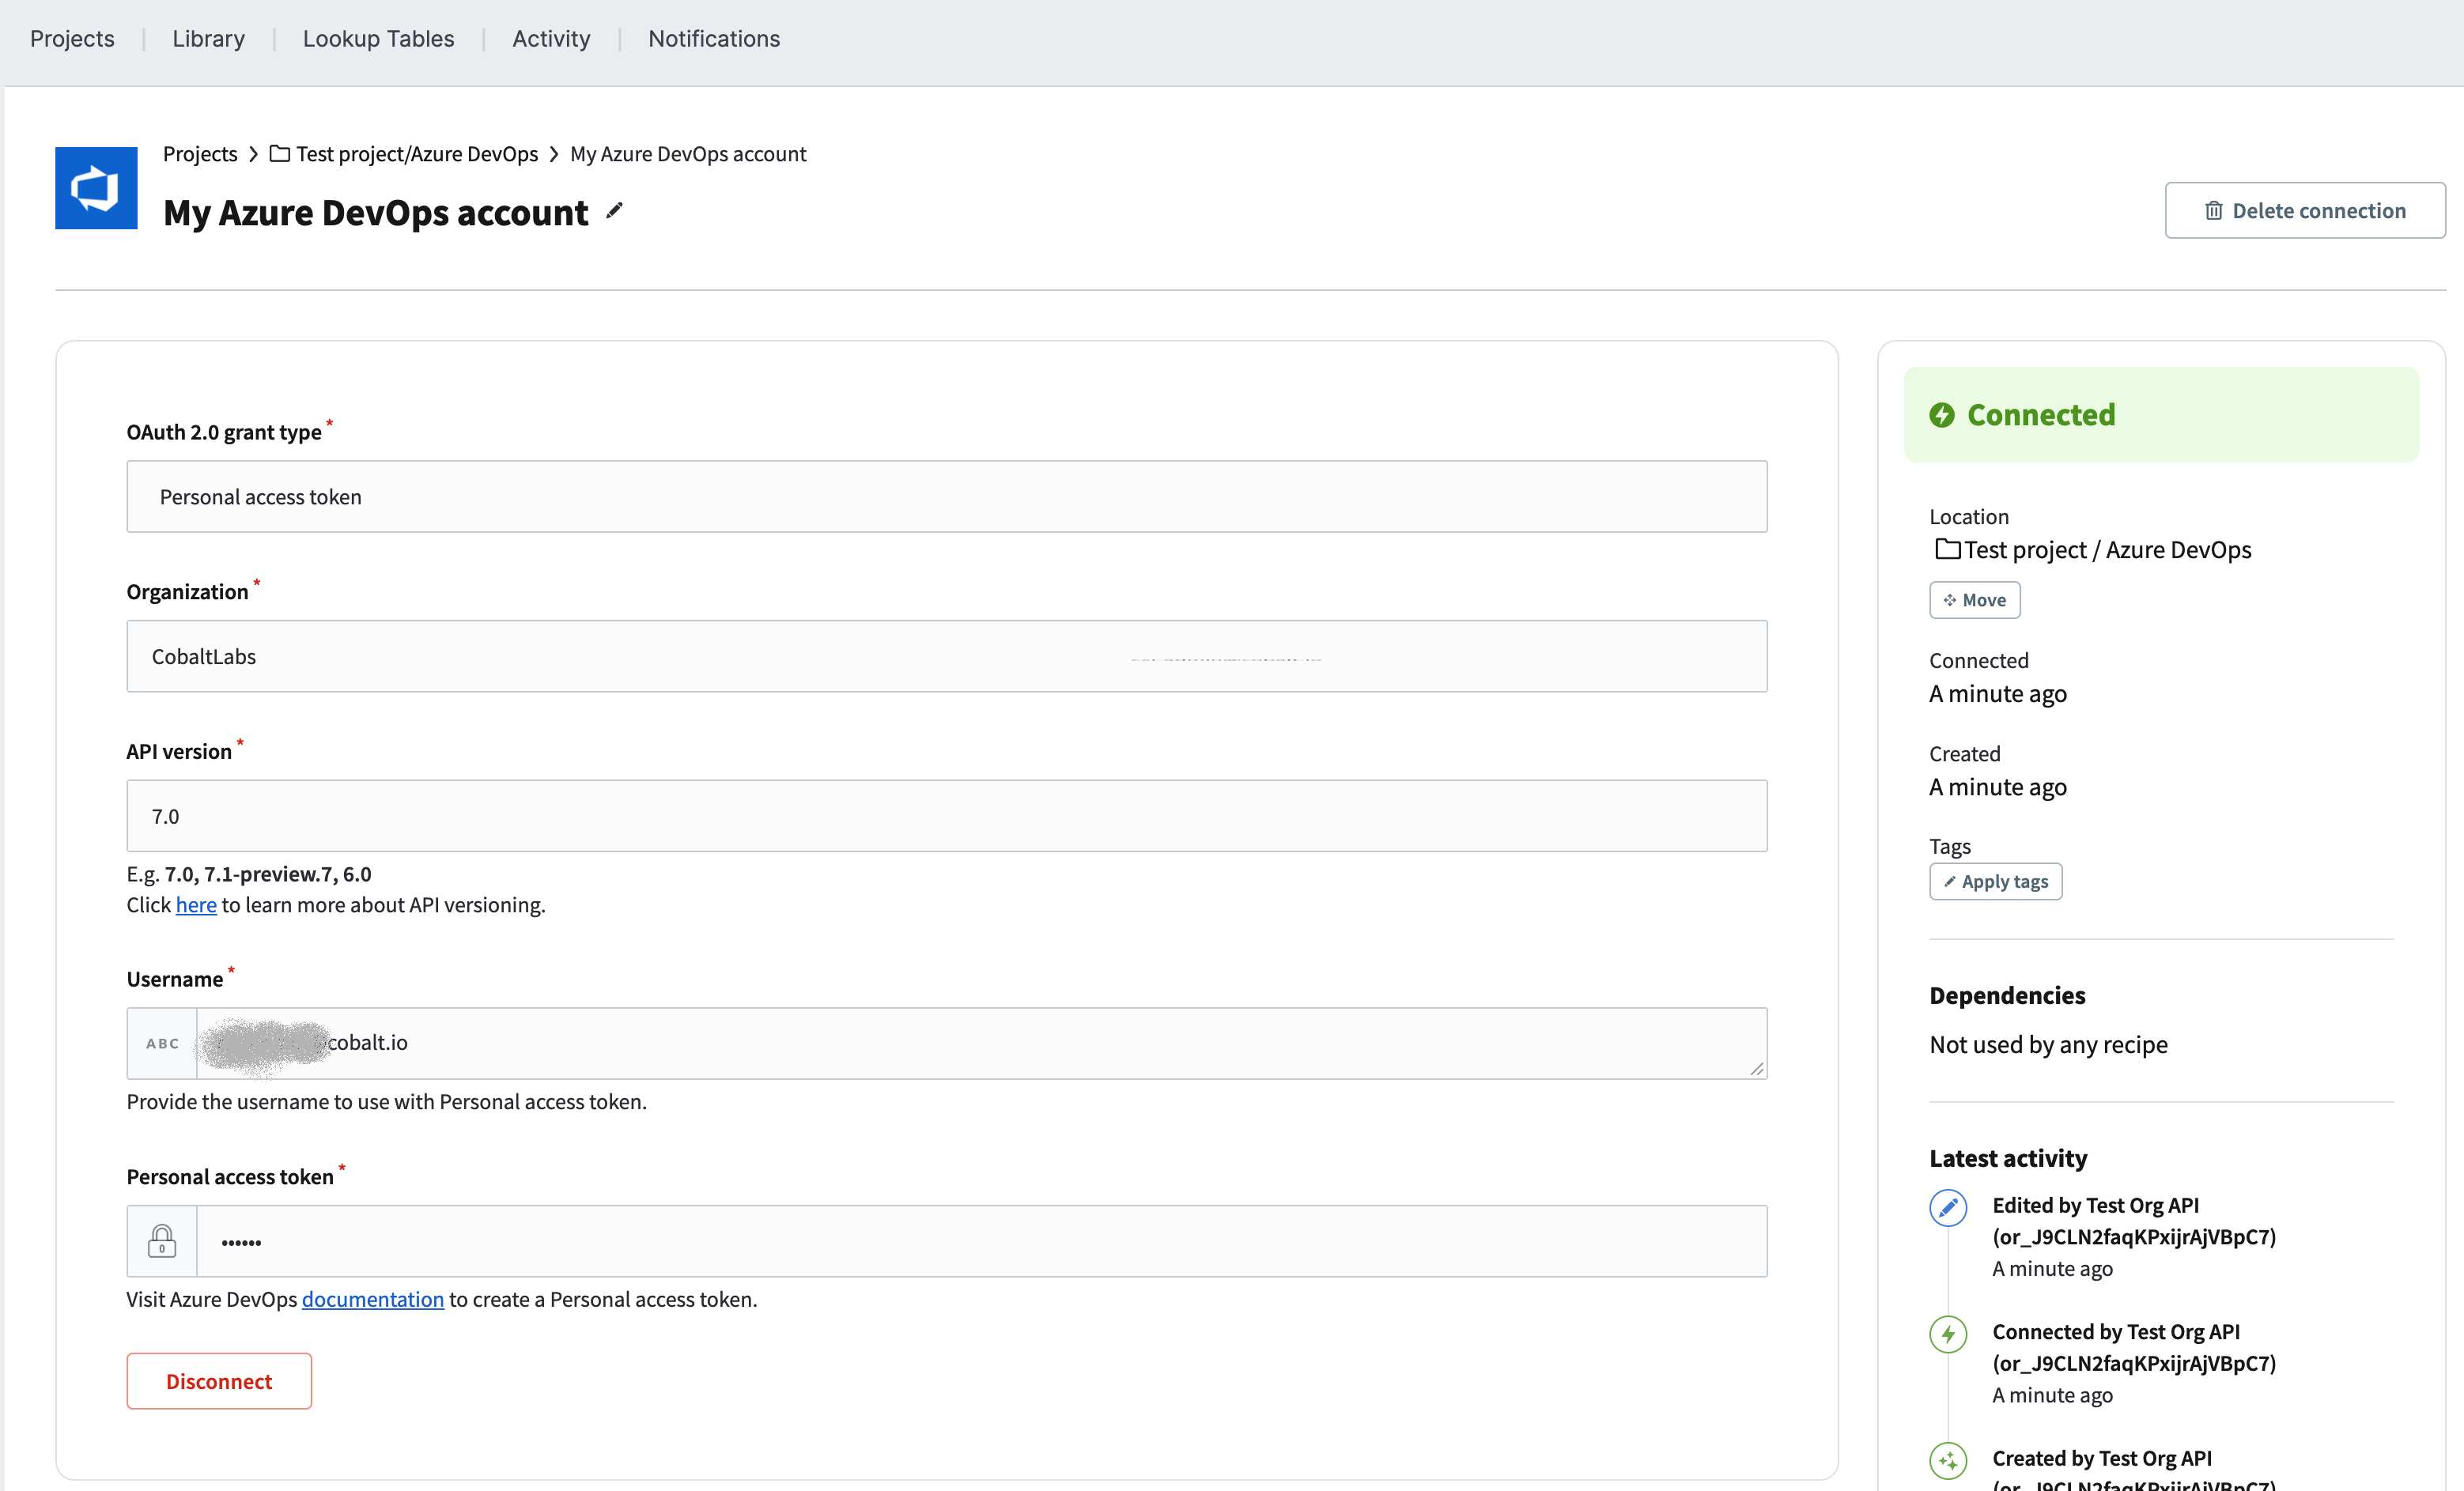
You should now see the new connection in the project, and it is connected.
Create a New Azure DevOps Recipe
Go to the “Library” tab and search for the “create work item” recipe.
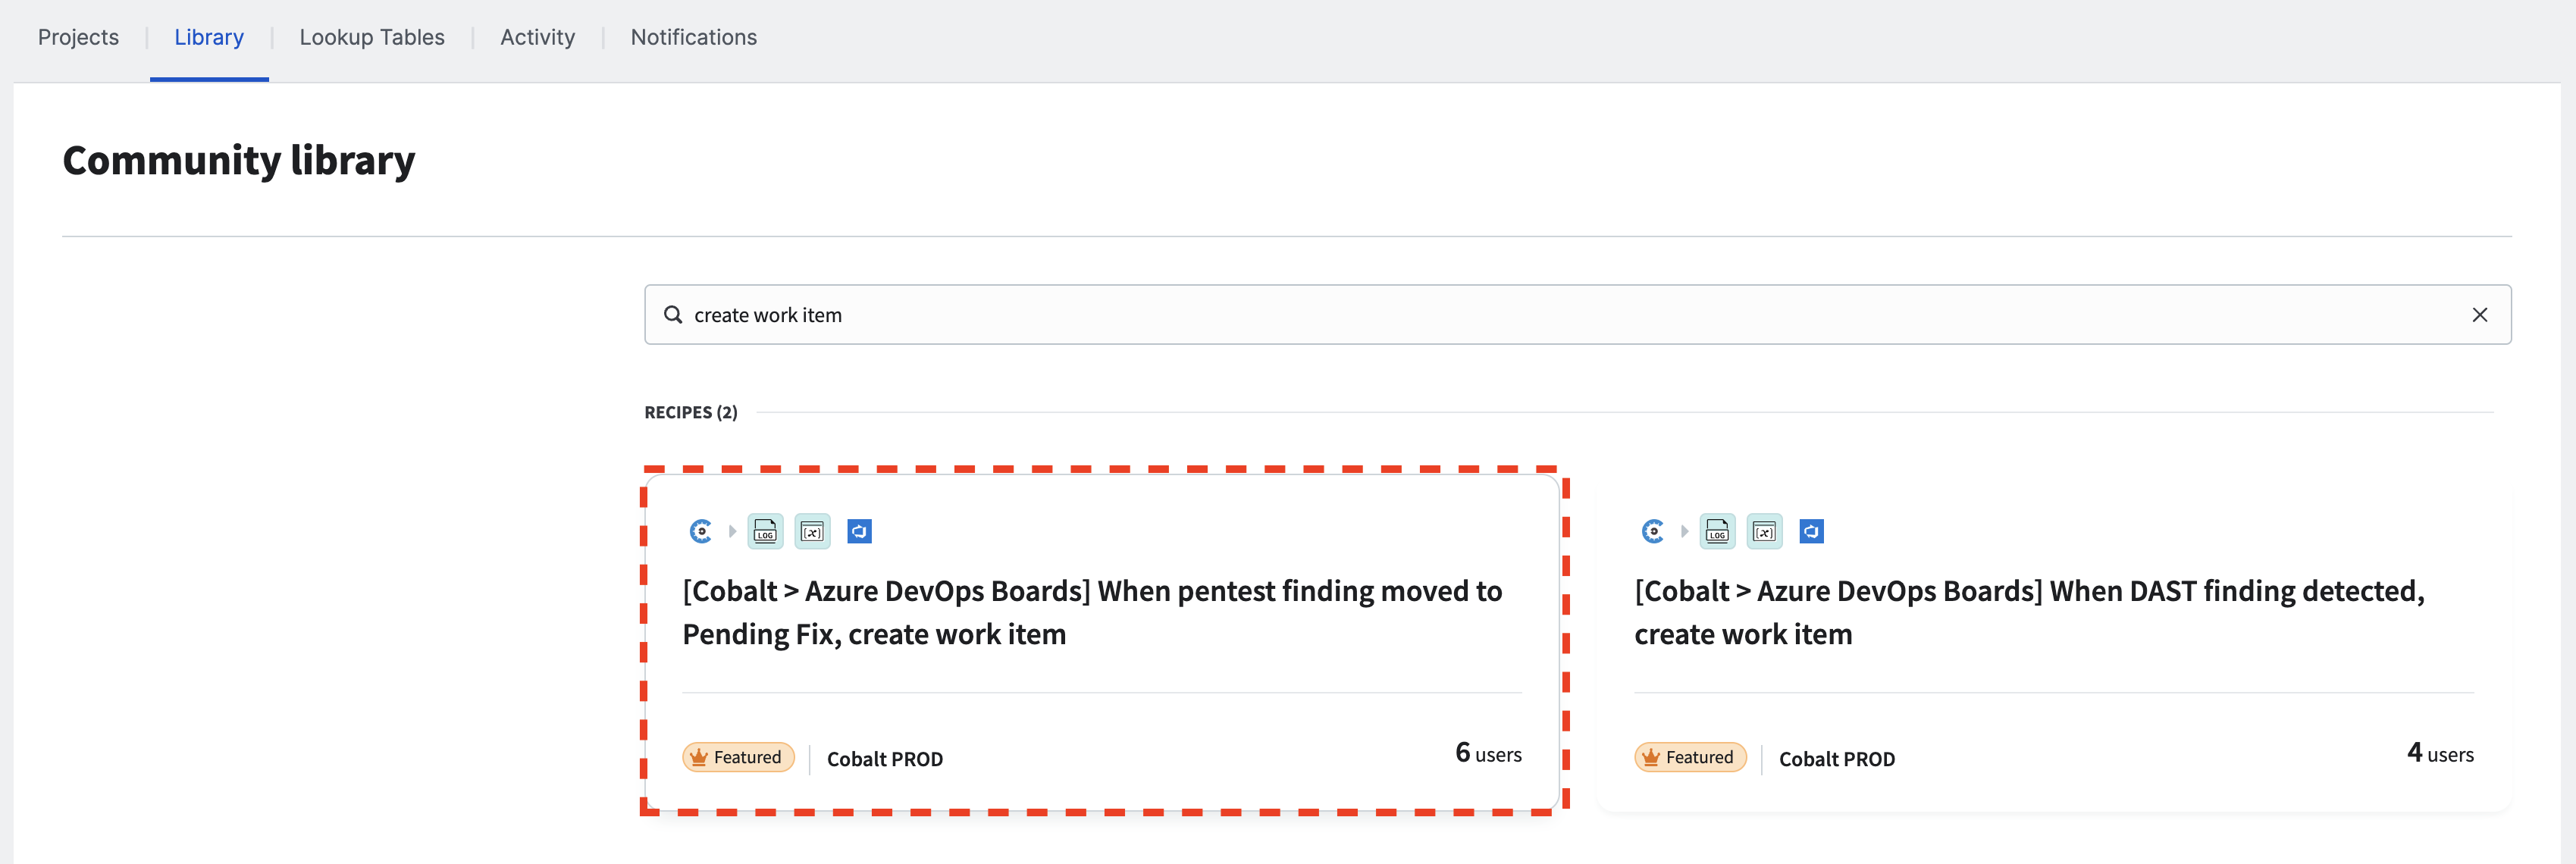
Choose the recipe based on whether you want to create Work Items for a pentest finding or a DAST Scanner finding. We’ll use the pentest finding recipe as a base and customize it. Click on the recipe to see its details and click “Use this recipe”.

Save the recipe in the folder you created earlier.
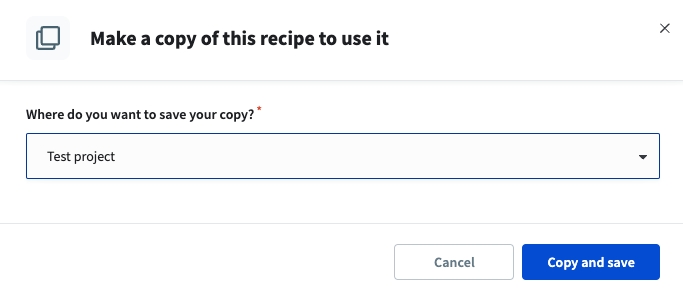
Customize the Recipe
Once copied and saved, initial customization is needed.
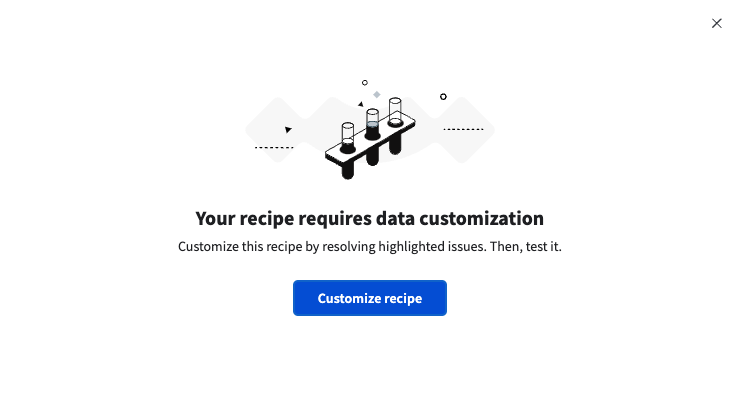
You will see errors in the recipe’s graph. The highlighted steps are causing the errors.
ⓘ Click on the number to jump directly to the step with the error, e.g., step
17and36.
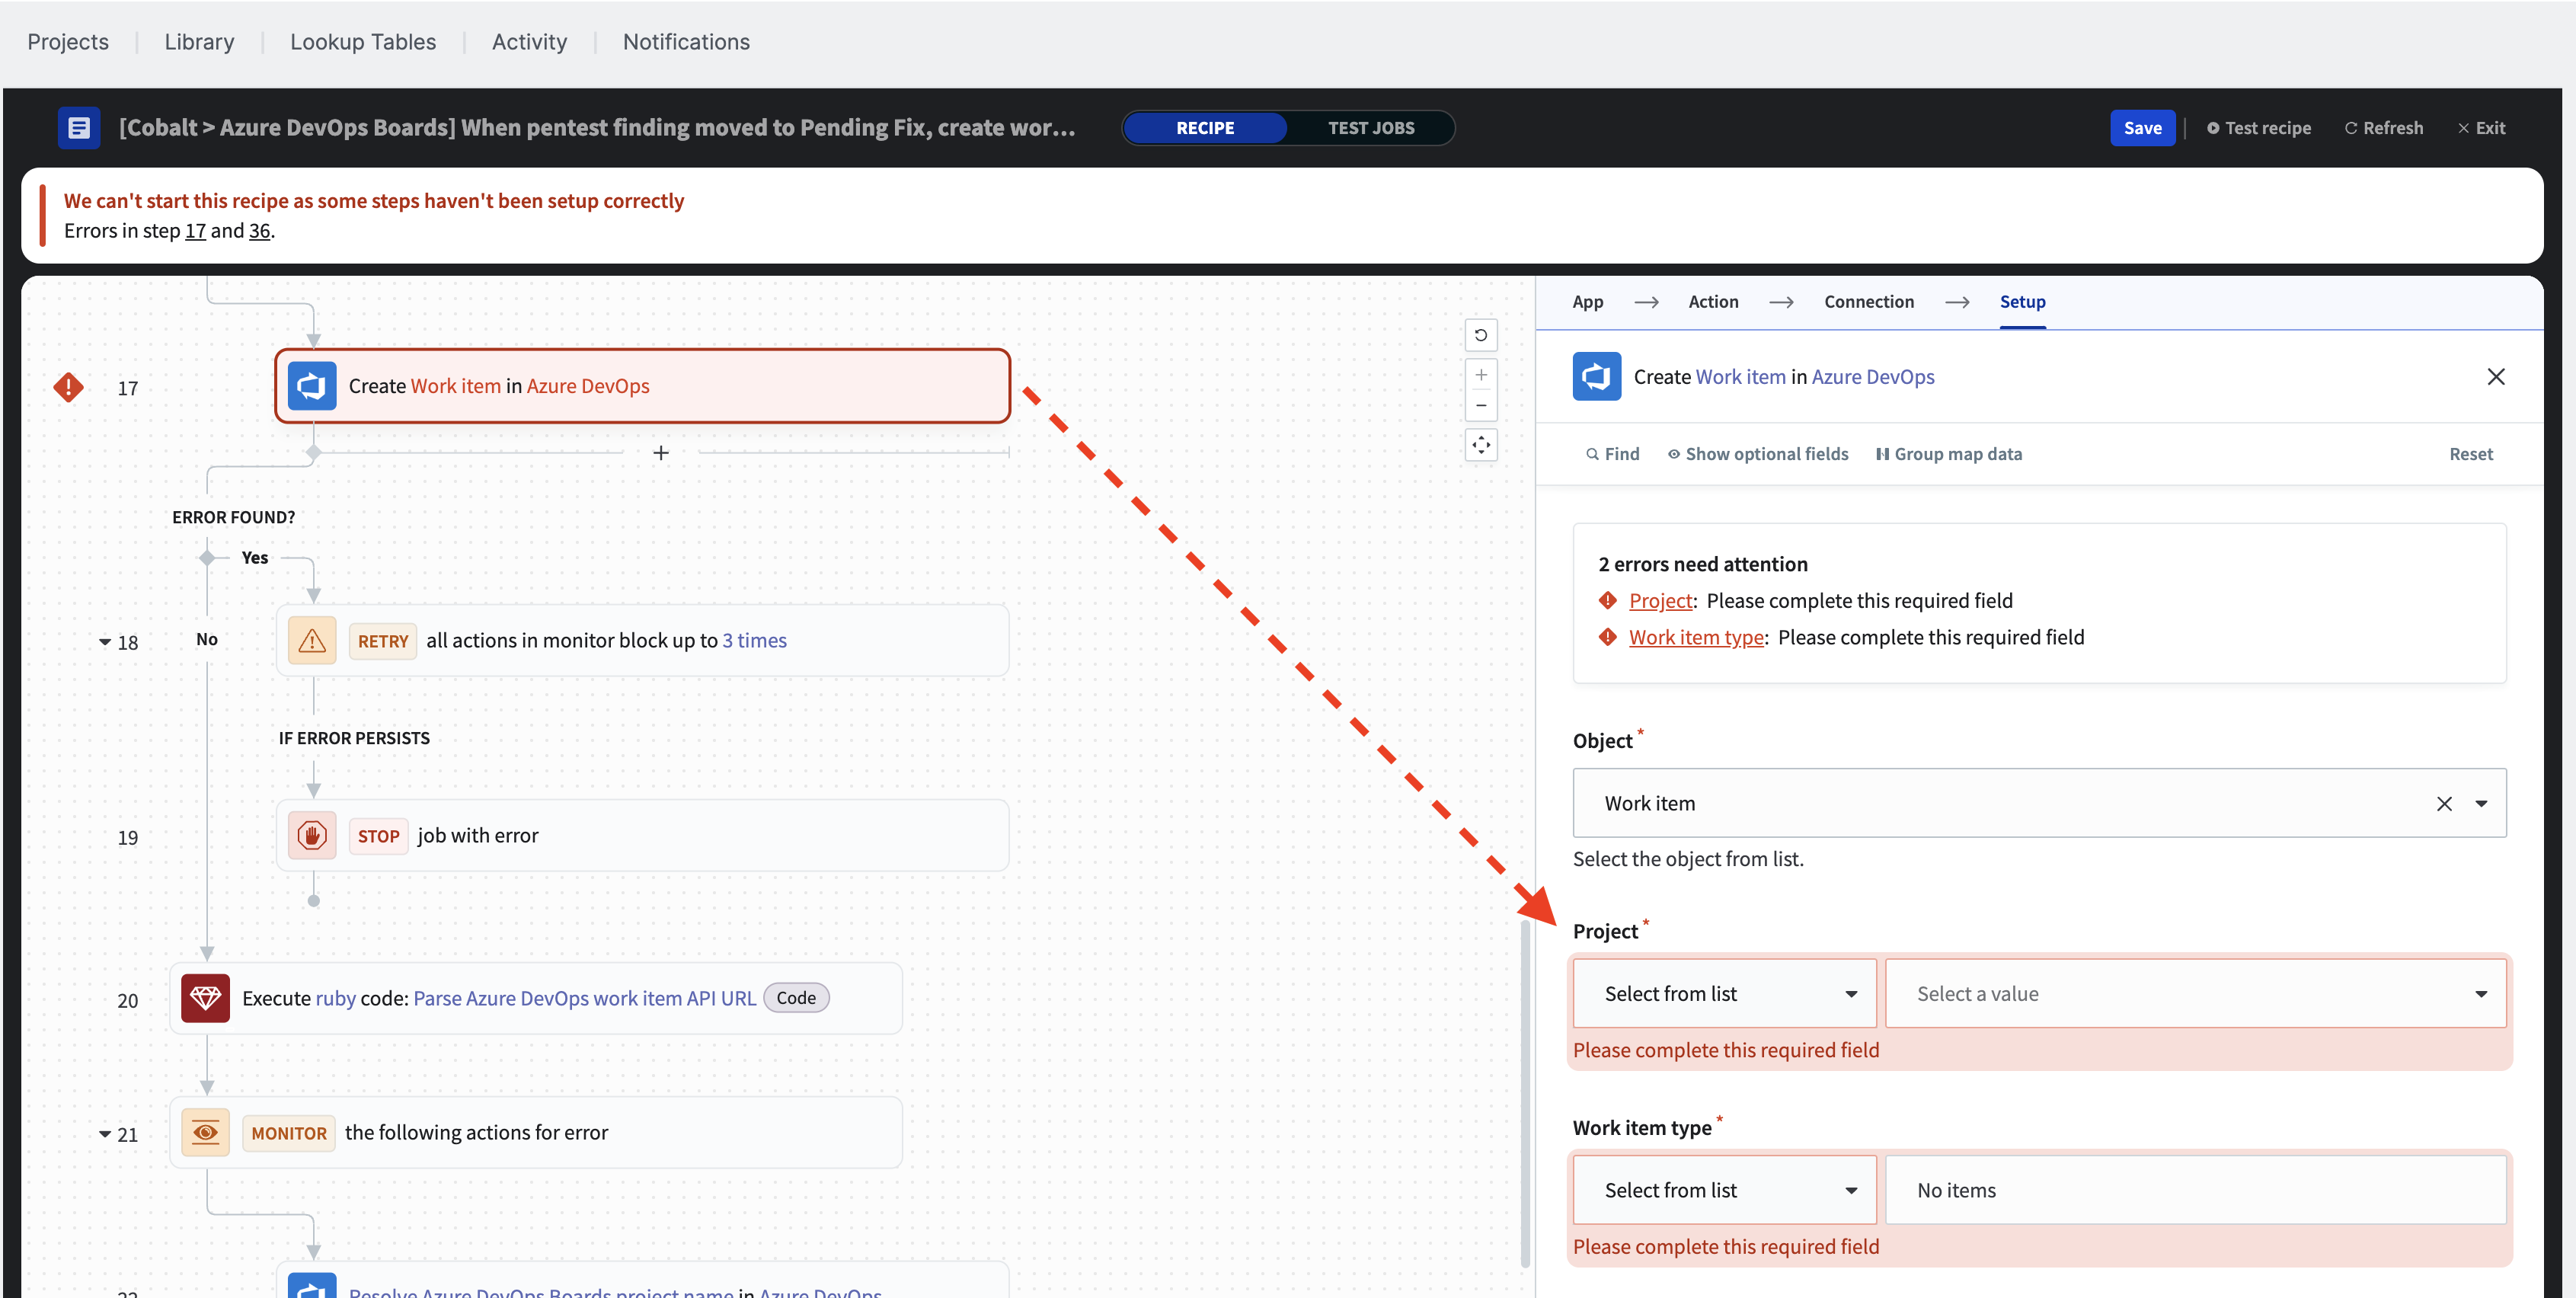
Choose the correct Azure DevOps project and set the Work item type. Specify all required fields marked with an asterisk (*). For the Bug Work Item type, the title, state, and value area are mandatory.
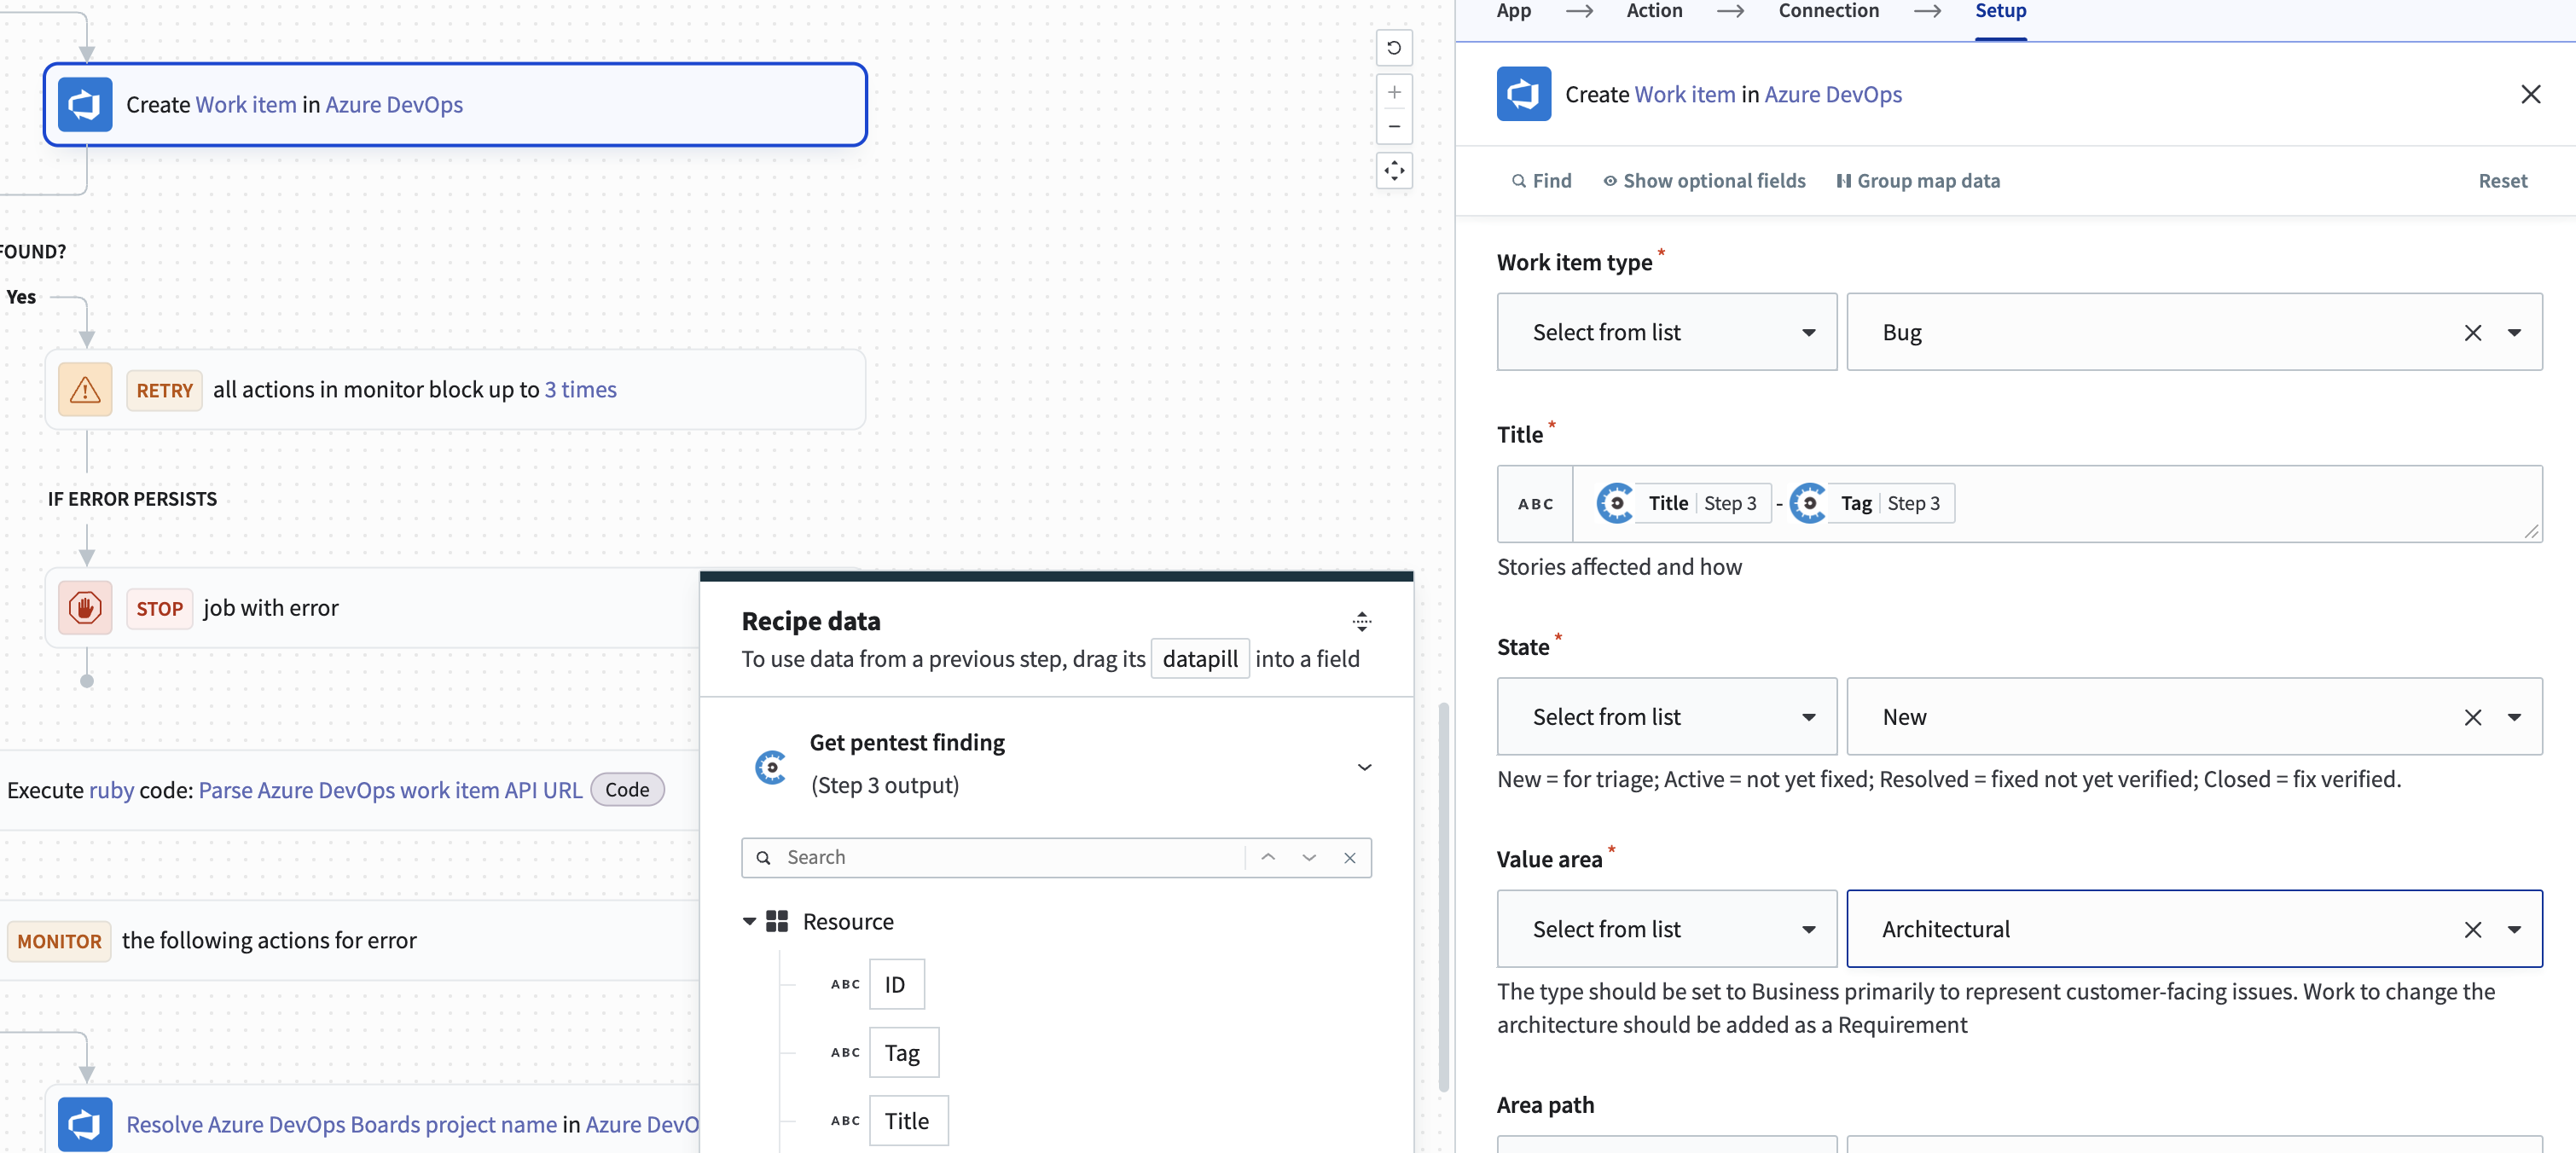
ⓘ Customize the optional description field to create a Work Item with a meaningful description extracted from the pentest finding data. For example, include the URL to open the pentest finding in the Cobalt application, or add the description or severity of the pentest finding.
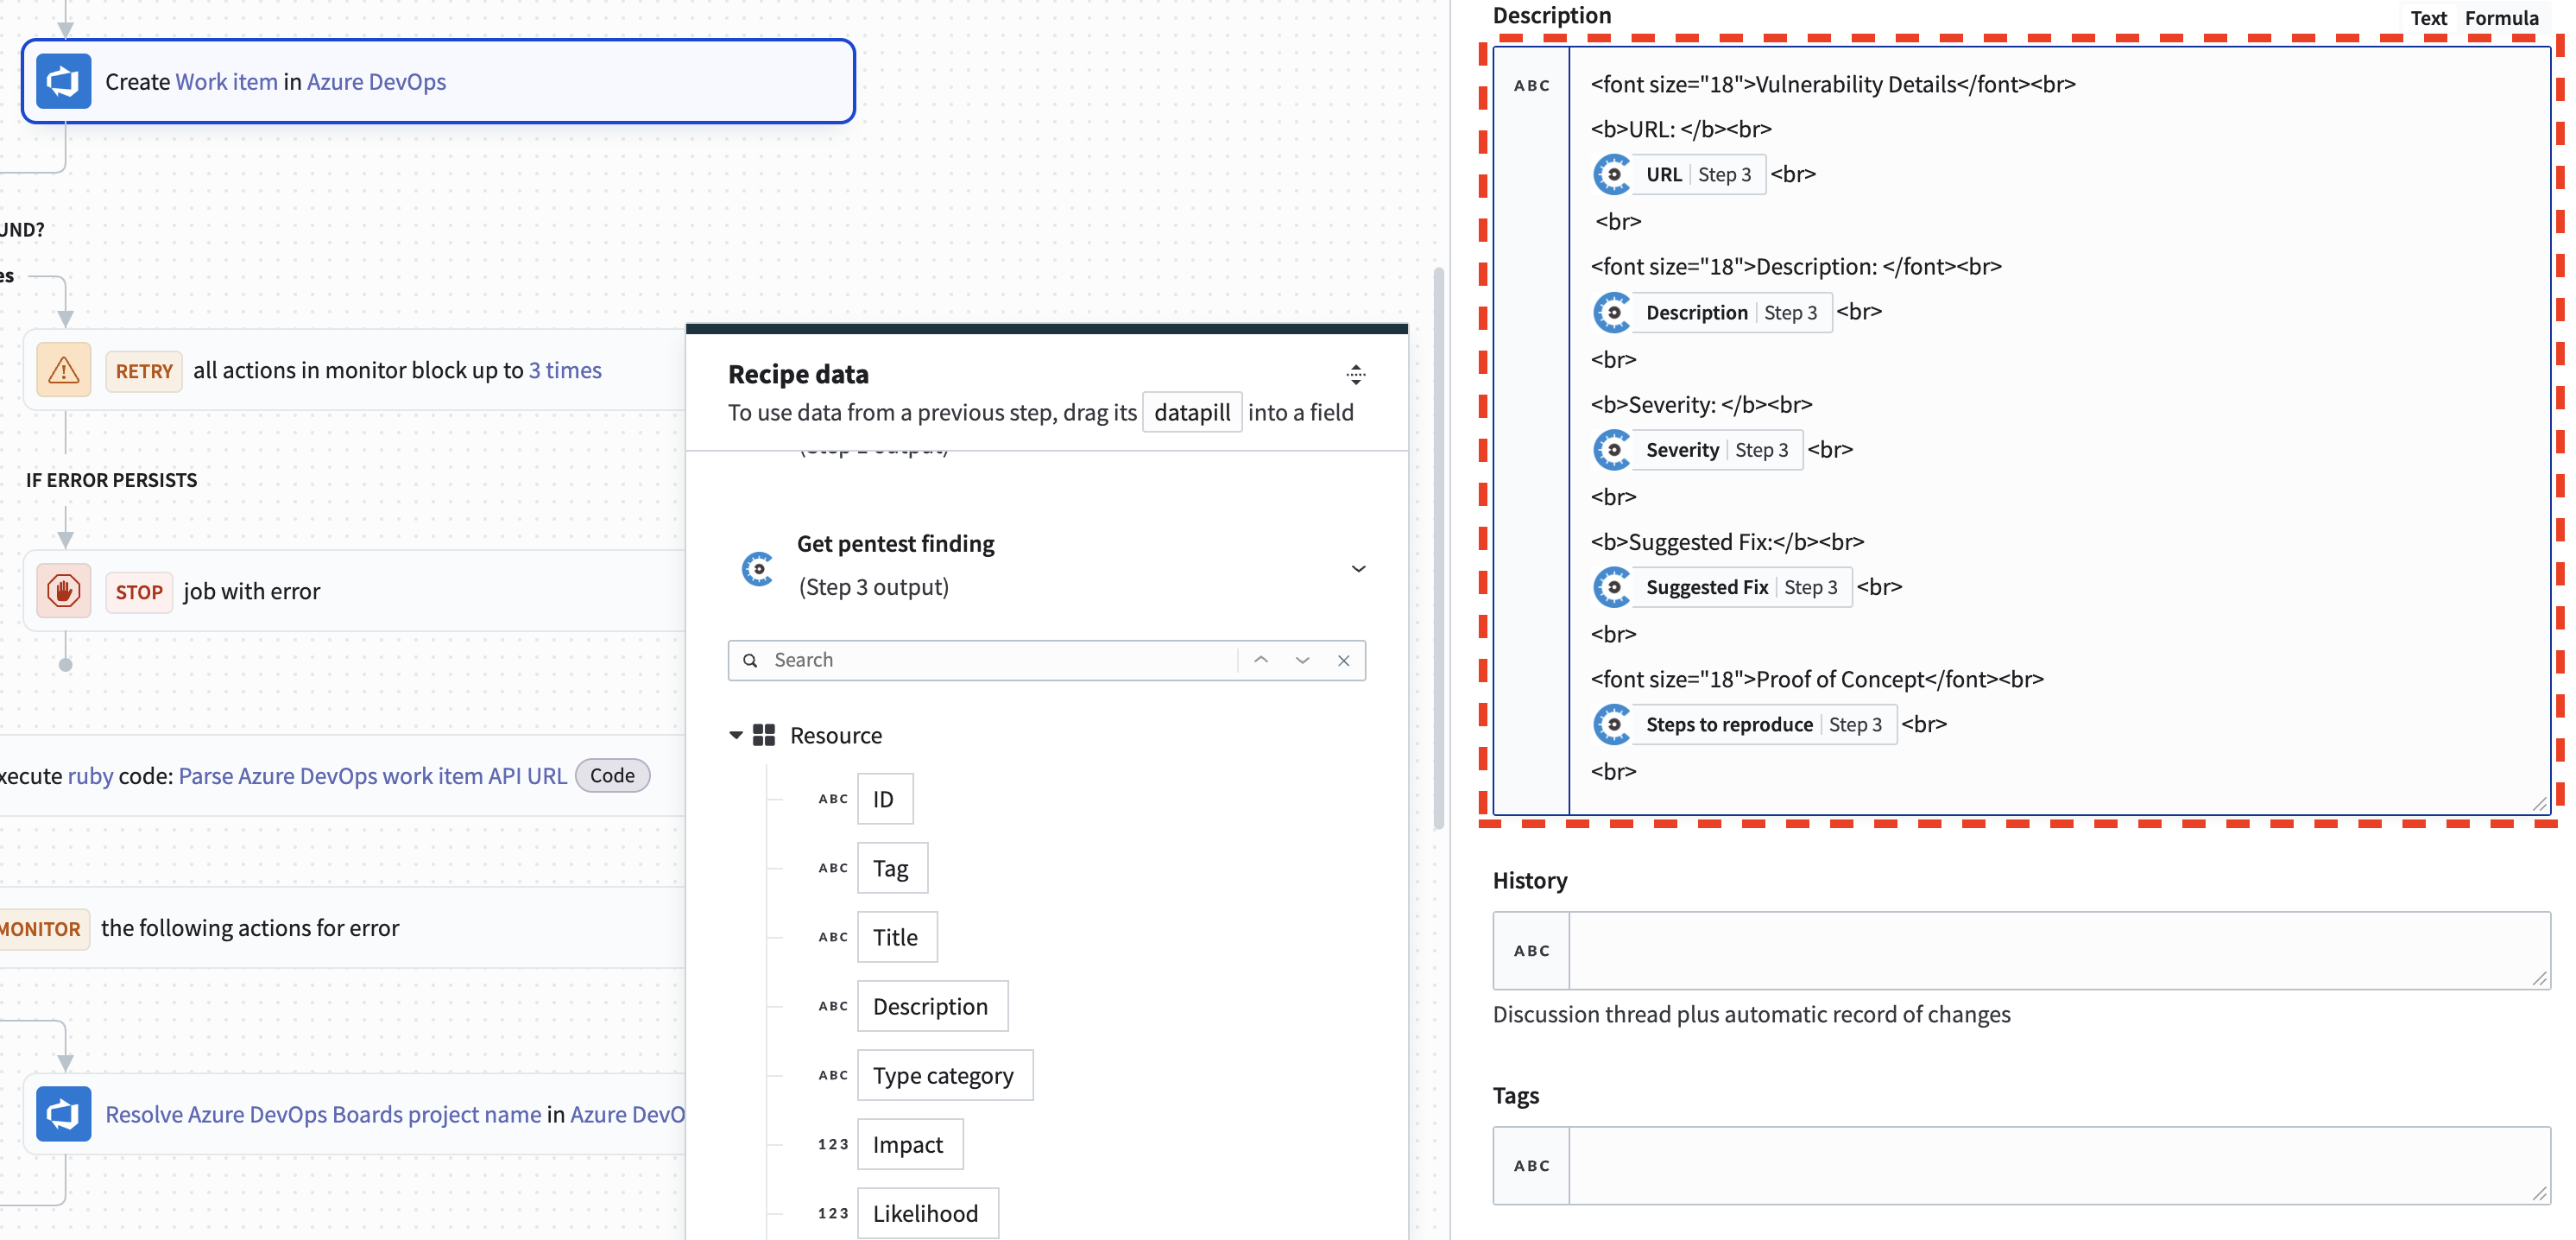
The recipe will automatically upload any attachments of the pentest finding to the Work Item. Go to the upload attachments to work item action, and set the required Azure DevOps project field.
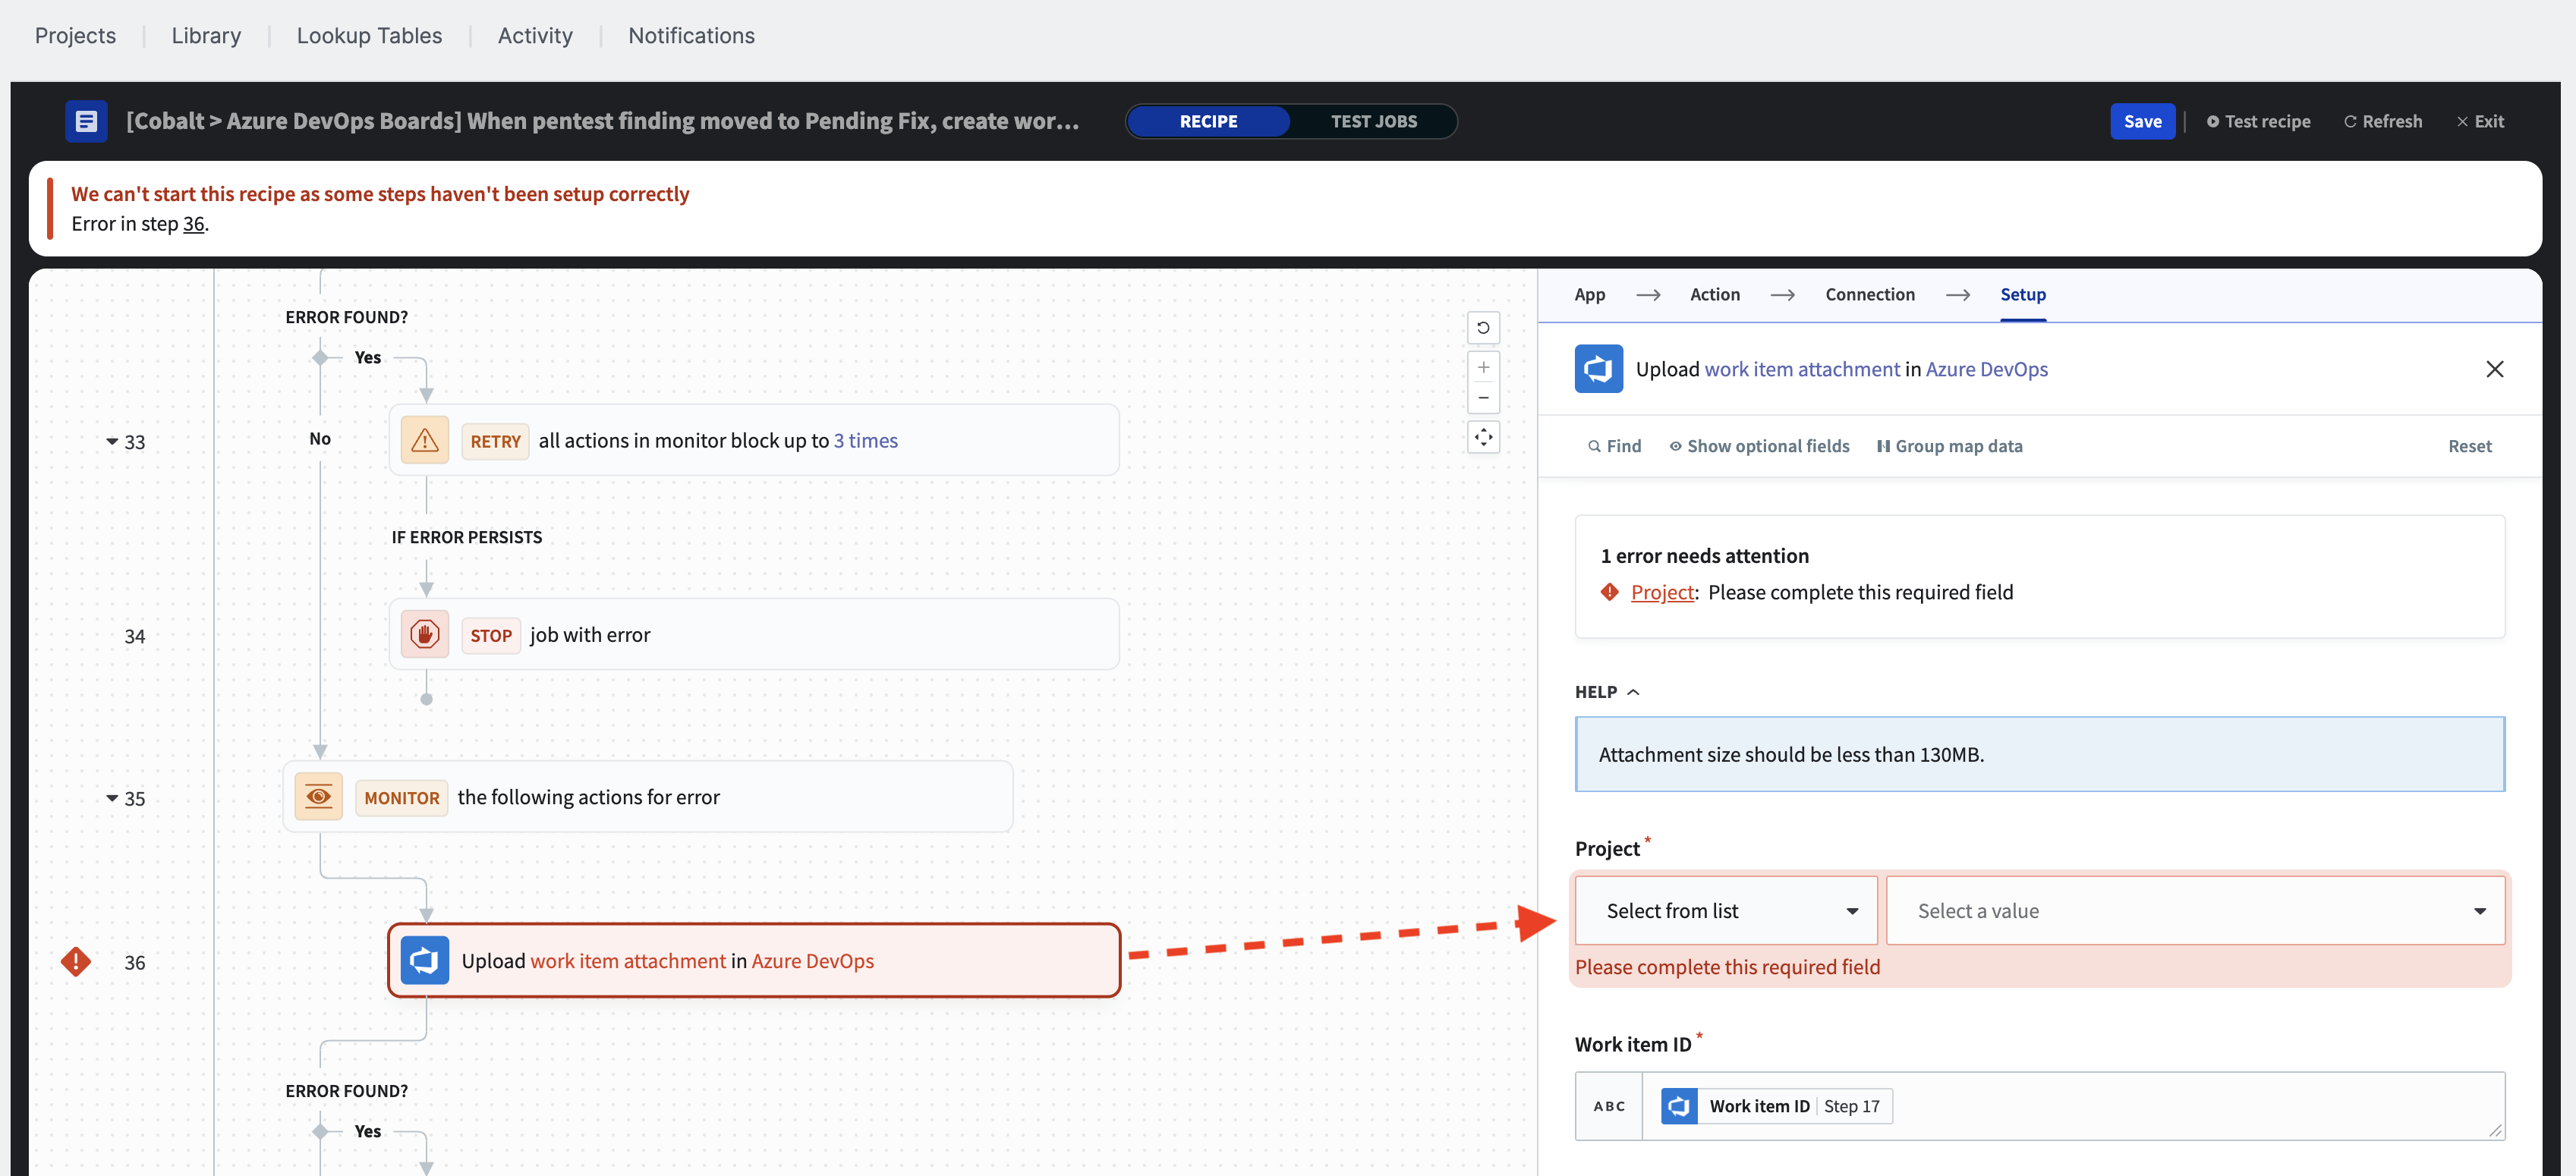
Use the same project as for the Work Item creation to fix the error.

ⓘ Optionally, set a filter on the recipe trigger. This example uses a pentest filter, so the recipe will run only when there is a new finding for the configured pentest.

Now there are no more errors. You can start the recipe. This may take a few seconds to run.

Once the recipe is running, you will see the jobs tab to monitor any events. This can be left open to verify whether a created finding triggers the desired action. The recipe will continue running even when the tab is closed. Click “Stop recipe” if you need to stop it. To edit the recipe, you must stop it first.

You can create a test Finding to test the recipe.
The Azure DevOps Work Item can be opened from the pentest finding.
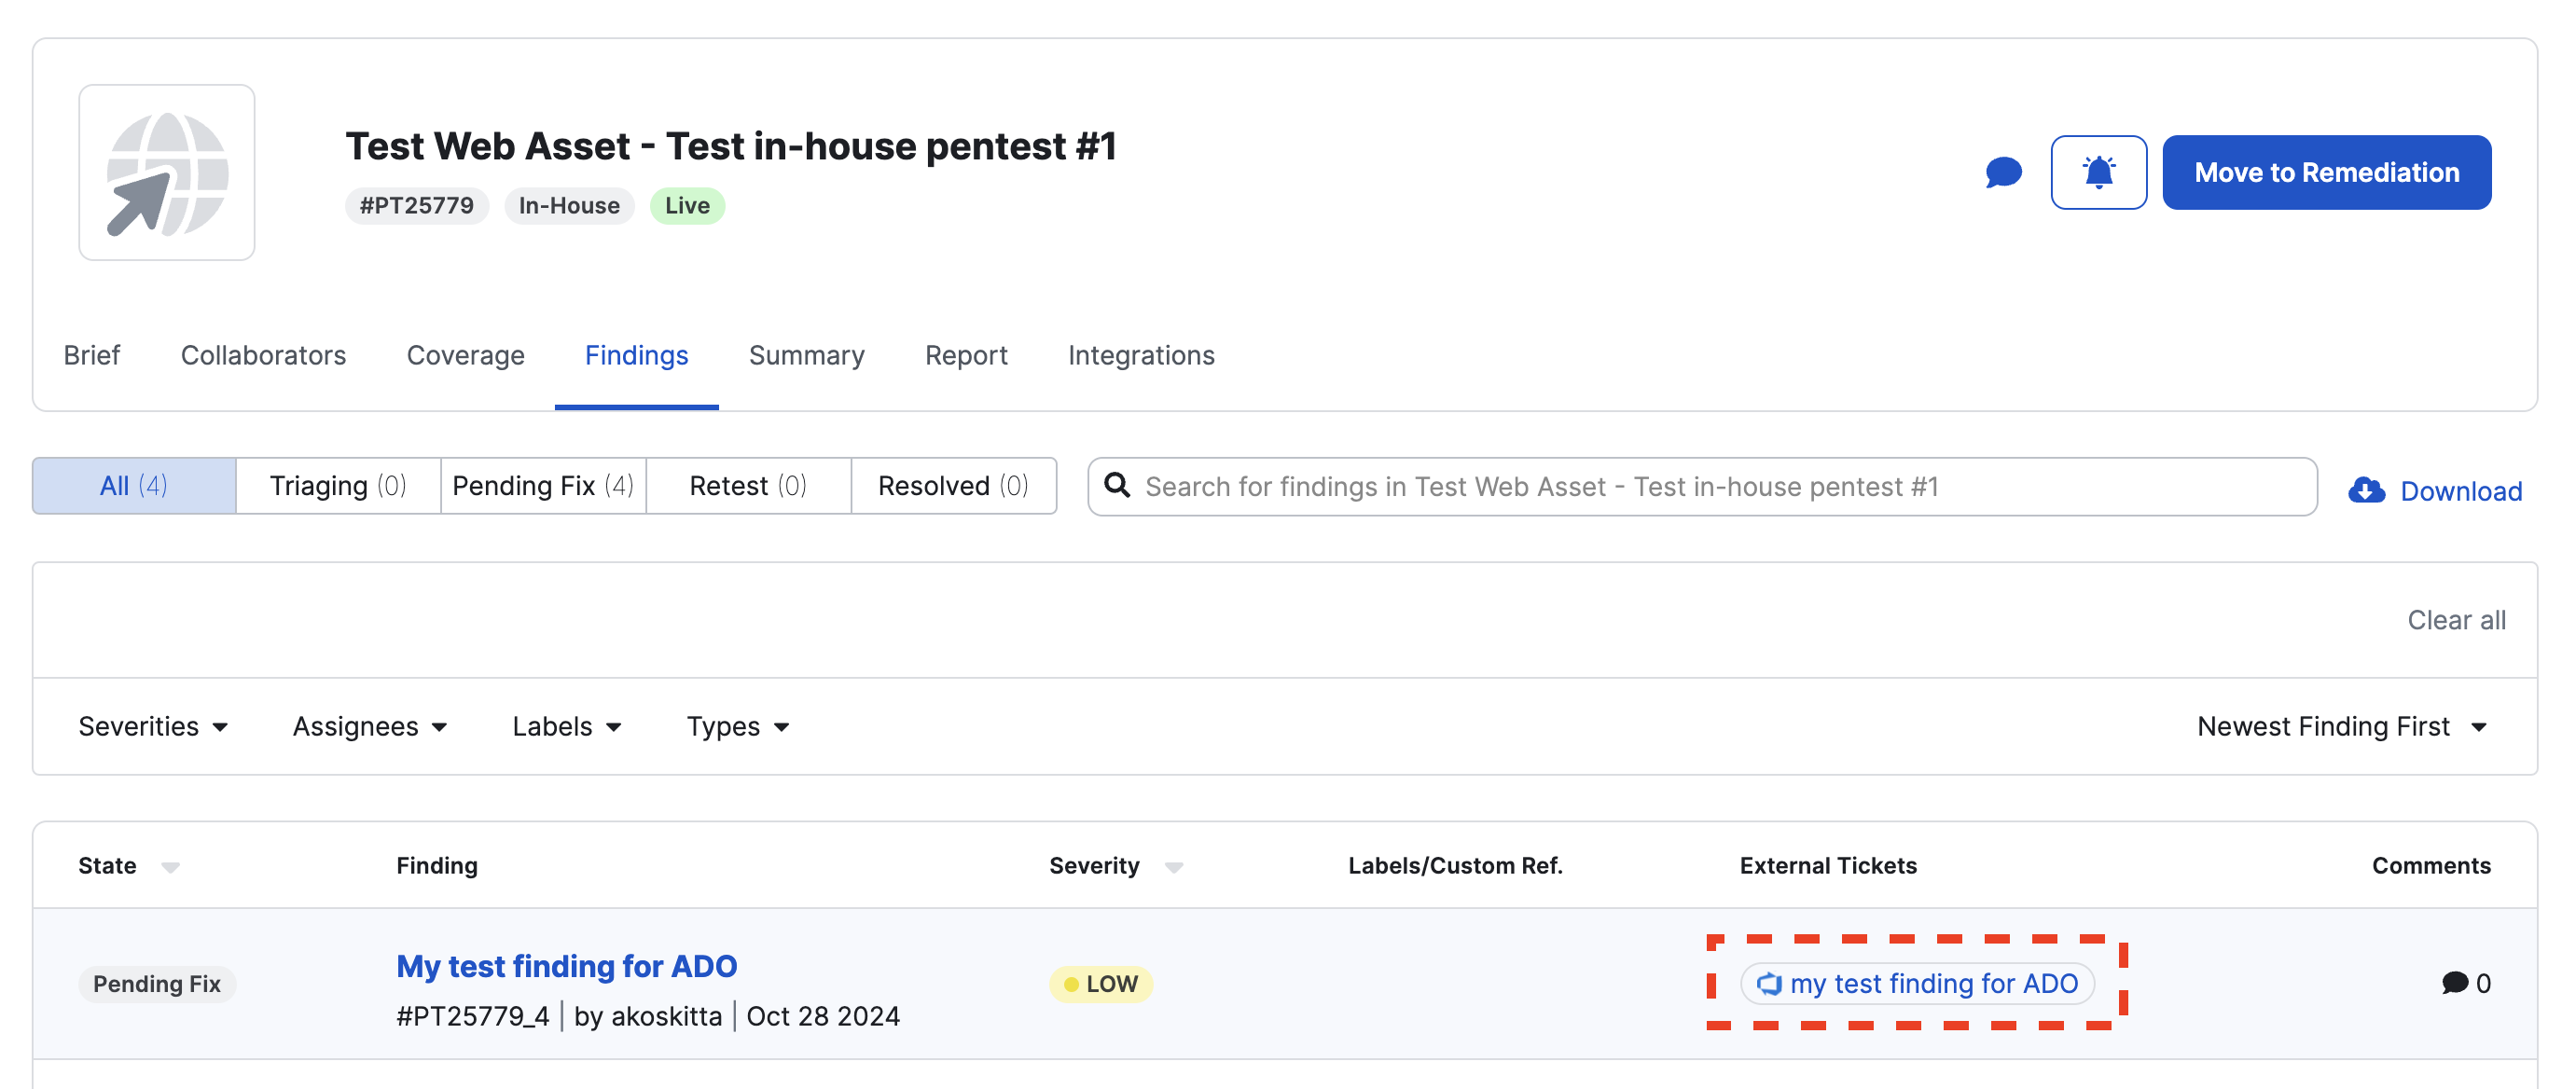
The Work Item in the configured Azure DevOps project.
 Last modified January 12, 2026